
Let continue where we left of in Part 2A of your system building project. In Part 2A we covered installing the CPU, CPU cooler, motherboard and SSD into our computer case, in this part we will finish assembling the rest of our system.
Installation Steps
Case Fan, PSU, PSU Cable Routing
The next component we have decided to install is an additional case fan at the front of our case. This Noctua fan is larger and more powerful than the fan that comes with the case and we have positioned this fan in a more direct line to the CPU and GPU on the motherboard to provide the required air to keep the system components running cooler than the stock case. This is especially worth considering since both the CPU and GPU in our system can be overclocked, which puts more stress on the overall system and the system components run hotter when overclocked.We can now go ahead and install the Power Supply Unit (PSU), we simply slide the PSU from the back of the case into place and screw into place along the back of the case. We have made sure the PSU intake fan is facing down so that fresh cooler air is provide to the PSU not the hotter air generated inside the case by the other components. We can now also check the cables that will be required by the whole system and connect them to the PSU, feeding them to the back of the case via the cable slot at the bottom of the case in preparation to connect to the components later on.
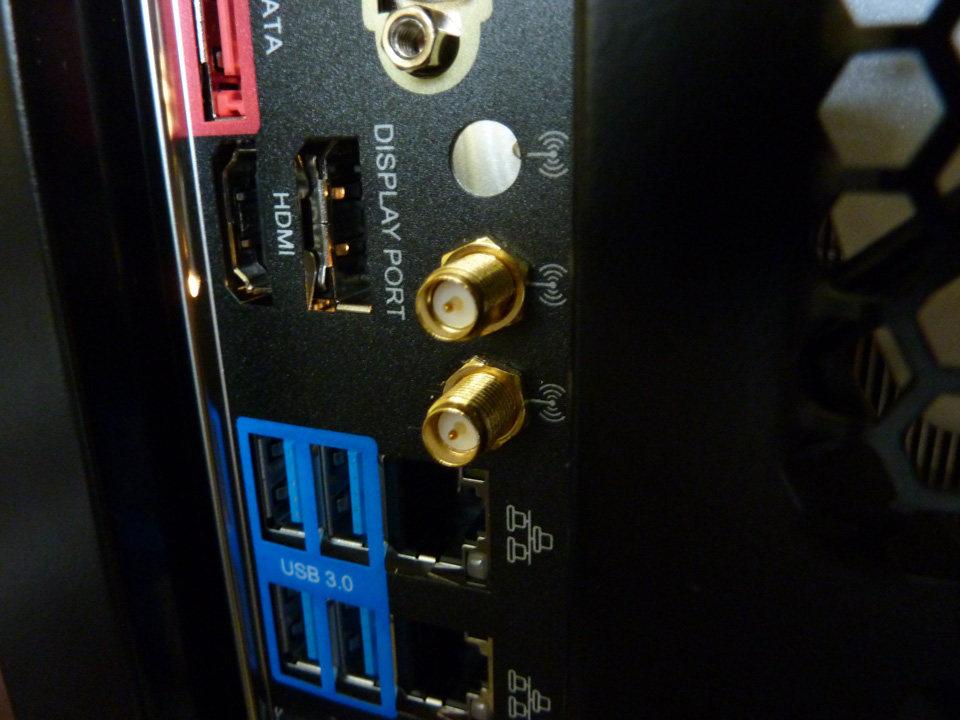
In our example there is an additional component that should be installed next, this is the WiFi card which is connected to the Mini PCIe slot. Since this will be located underneath the GPU we will install this first by connecting the WiFi signal cables from the card to the back of the case where the antenna connections are located.
The GPU can now be installed relatively easily into the PCIe slot and orientation should not be an issue since the connections on the bottom of the card and the design at the back of the card which will align with the back of the case mean it will only fit onto the motherboard in one direction. We need to make sure that we have removed the back-cover on the case which aligns with the PCIe slot in which we will be connecting the GPU and when inserting the GPU into the slot to first release/hold open the PCIe plastic lock of the PCIe slot on the motherboard, otherwise the GPU will not sit in the slot and you may damage the card trying to force the matter. Once in place we can screw the card into place at the back of the case where we removed the back cover.


Case Input/Output, Cabling Connecting, Post and Troubleshooting
Now that all the major components have been installed into their final positions on the motherboard/case we can finish all the cabling from the PSU. We can connect the two power cables required by the motherboard running from the PSU, the 8-pin and 6-pin power cables for the GPU can be connected (some graphics cards require only a single power cable), the power cable for the SSD from the PSU and the data cable from the SSD to the motherboard SATA slot can also be connected.In all the cabling it is best to feed the cable from the bottom and back out the front via the closest cabling hole on the case for each component. This helps keep the cabling as clean as possible which helps when we need to remove any components in the future and as well as keeping the case internals aesthetically pleasing, this also helps when we tie up the cables at the end of the build and when we try to clean the system periodically.
A tip worth remembering is to clean the system from the inside of any dust buildup every 3-6 months to reduce any additional trapped heat, ensure the components are working optimally and to ensure maximum air flow throughout the case. A can of compressed air will provide enough force to help remove any stubborn dust as physically dusting the components with your hands may damage components and is not recommended.
Next we can connect the case fan power cables to the motherboard. There are two types of case fans available on the market, PWM and voltage regulated fans. The type of fan on your case will determine which fan connector on the motherboard you will use to connect each fan. PWM fans work optimally and allow for more control via the motherboard bios/software when connected to 4-pin fan connections. In our example we have connected two fans from the front and one fan from the back of the case.
Lastly we can connect the case input and output connections that are generally included at the front of most cases, these include the power button, reset button and USB ports. Most of these connections are situated close to each other on our motherboard which makes it easier but referring to the motherboard manual is crucial to ensure that the connections are positioned in the right location and the right orientation. If your system does not power on via the case button, incorrectly connecting these connections may be a likely cause.
Once we have this final step completed we can go ahead and connect the computer monitor, keyboard, mouse, PSU to the wall socket for power, turn on the PSU from the back of the case and test the system starts correctly without any error messages /sounds from the motherboard. Successfully booting the system should take you into the motherboard bios screen.
If the system did not boot correctly you will need to troubleshoot the problem by determining what error sounds the motherboard generated and then cross referencing with the motherboard manual to determine the correlated problem associated with the sound. You can find more help with any problems on the websites highlighted in the next section.


Support and Knowledgebase
I have tried to be as clear as possible in the steps outline above but if you are still unsure about a specific step or need any question answered about an aspect of your system build I would recommend checking out some of the more popular online resources for help and guidance. The first place I would recommend to get help would be the component manufacturer website/forum as they would have the most accurate information about the subject, but there are many knowledgeable and helpful users on technology forums such Linustechtips, Tomshardware and Reddit who can also provide the help you require. I would also recommend checking out some related videos on YouTube as it has also been a very helpful resource for me when selecting components and building the system, with people posting helpful videos reviewing PC components and guides on building computer systems.


That concludes Part 2 of our mainstream and upgradable computer system build guide and I hope it was helpful, stay tuned for the third part where we will cover some of the important software related aspects of building a computer system such as OS installation and setup.
Related Resources
http://linustechtips.com/main/http://www.tomshardware.com/forum/
https://www.reddit.com/
https://www.youtube.com/
http://www.pcauthority.com.au/Review/390171,review-asrock-z97-extreme6.aspx
No comments:
Post a Comment